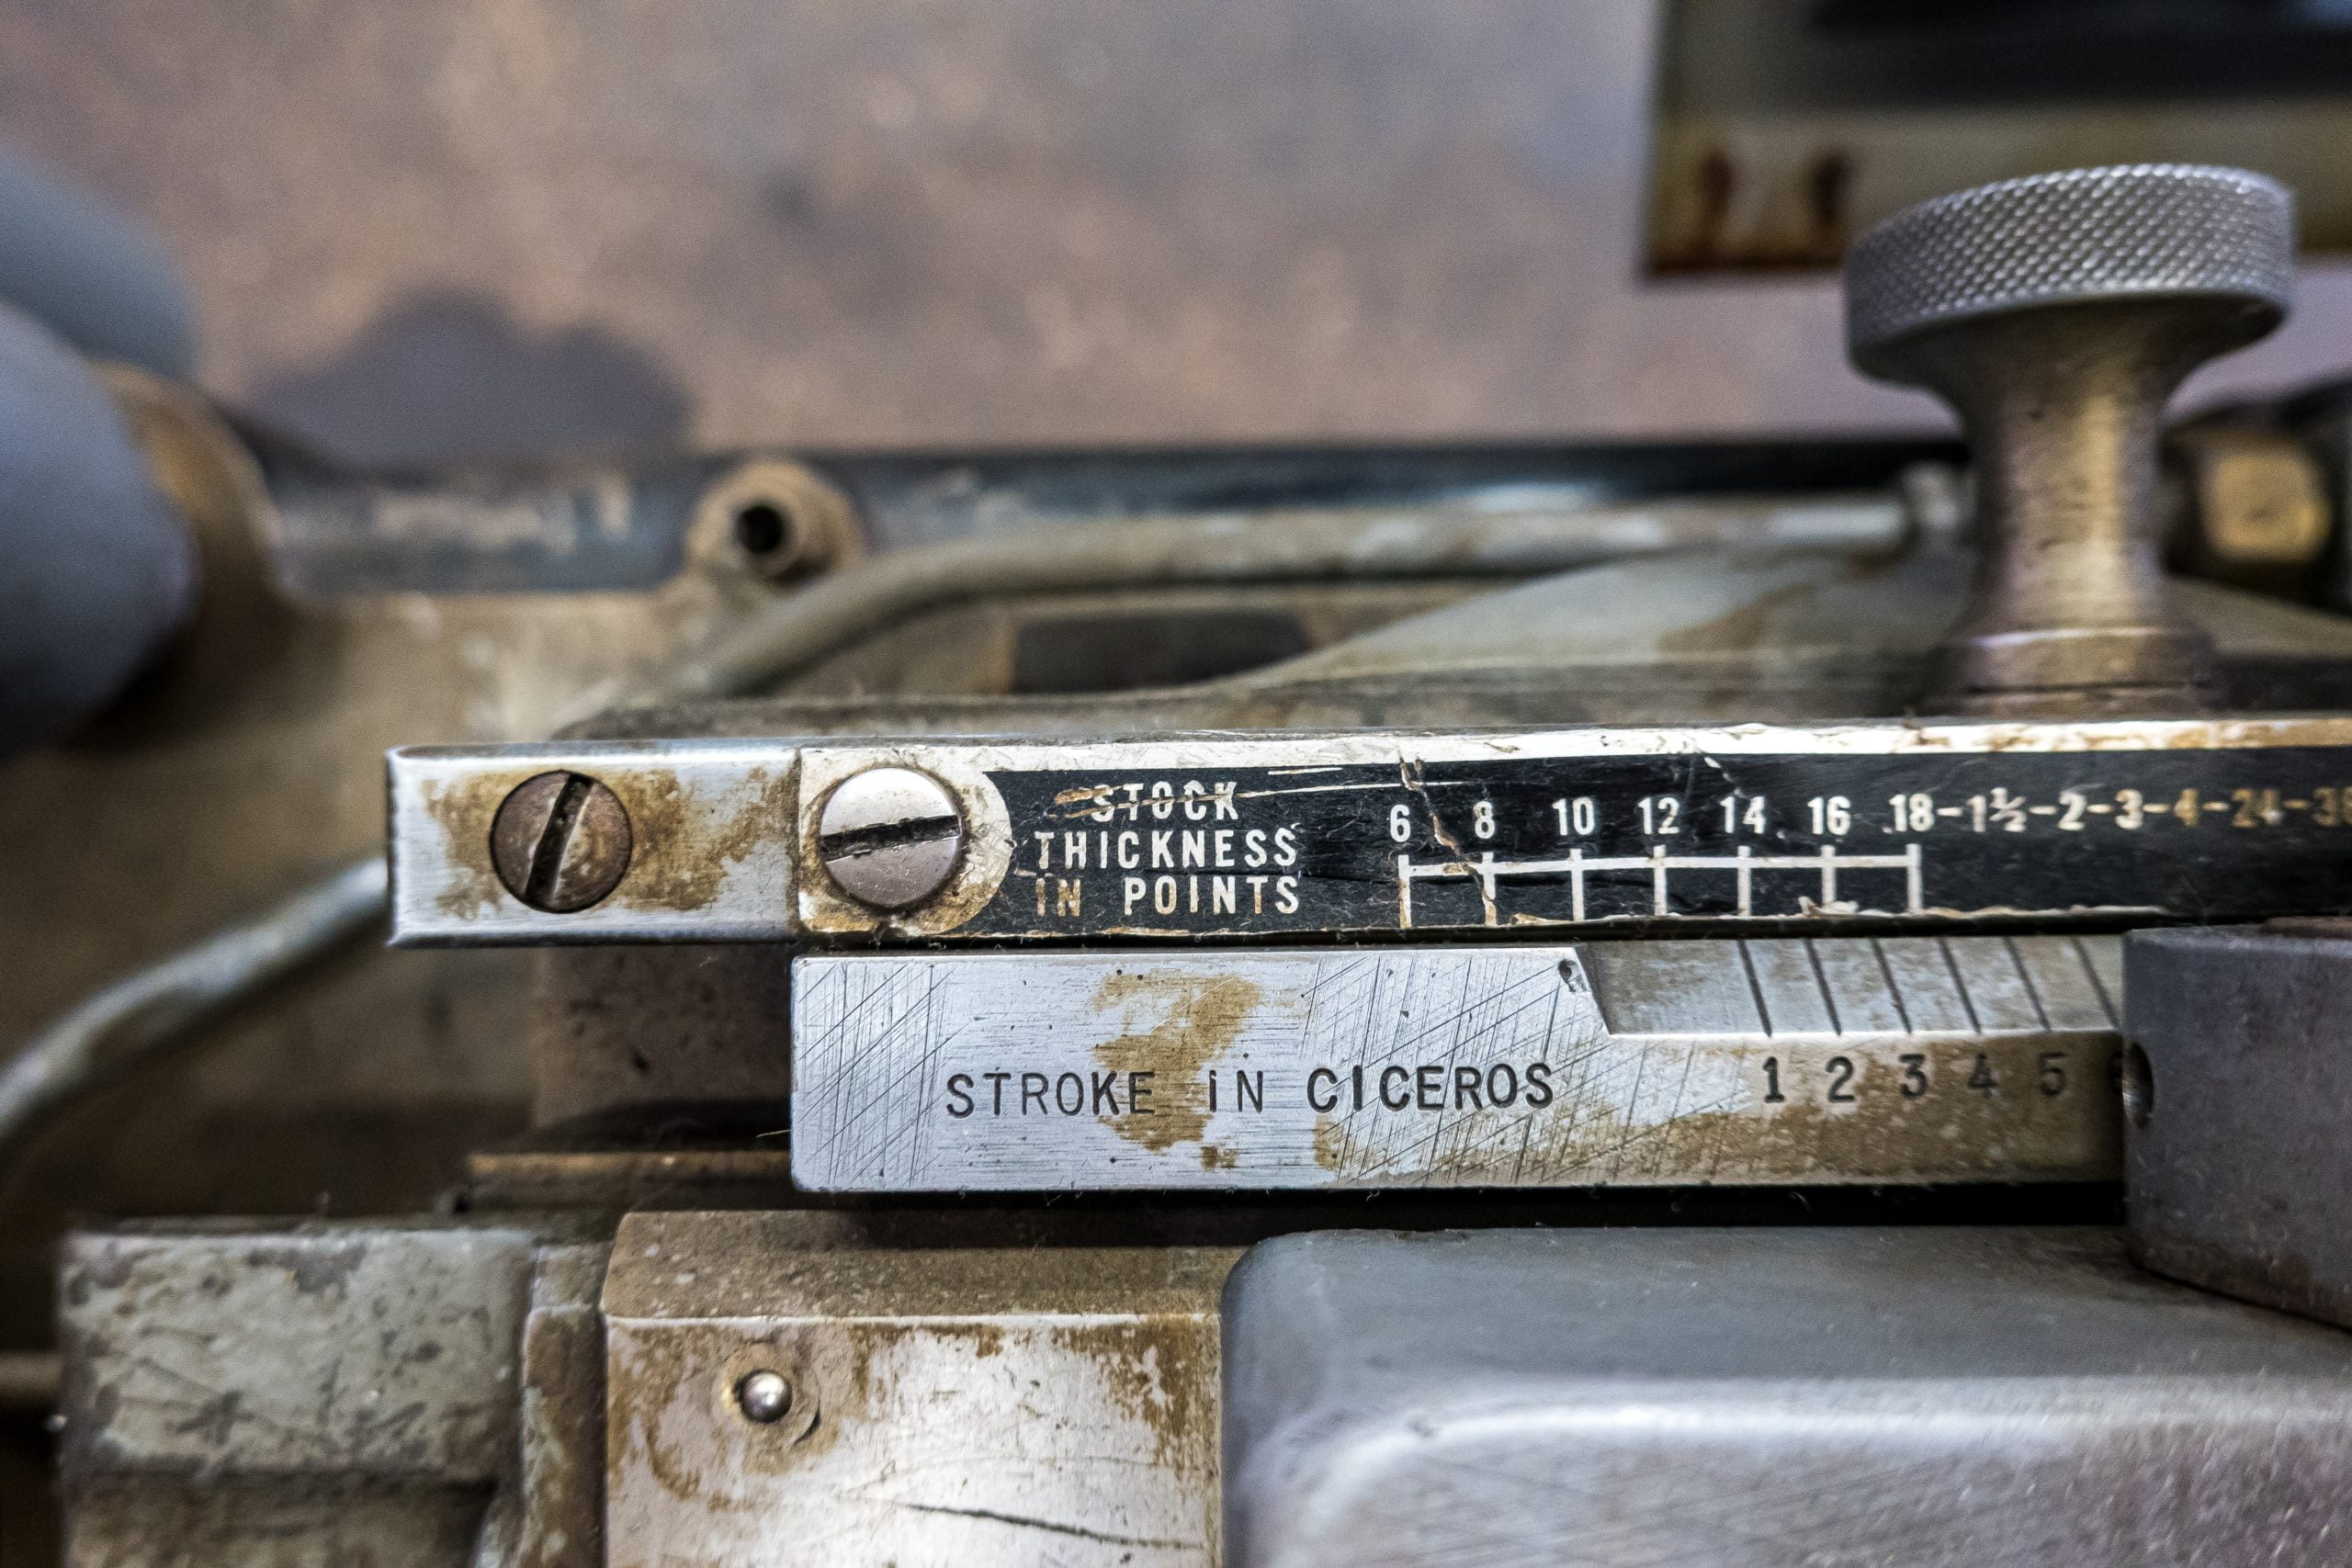
The Odd Thing about Font and Line Sizes

Reading time: 5 minutes

When you select a font in Word, you select its size in a unit called “points.”1

But just like the font size, the font face also affects the visual size of lines and type on the page.

So if you need to space content precisely on a page, you need to recognize that font points aren’t type points.

Font Points Aren’t Type Points

In theory, one point is equal to 1/72 of an inch. (For clarity from here, I’ll call this a “type point.”)

But, by comparison with 12-point Times New Roman text,

  • Twelve-point Arial text occupies noticeably more horizontal space.
  • Twelve-point SBL BibLit text occupies noticeably more vertical space.

So not all fonts are created equal in terms of what a “point” means for a single-spaced line in that particular font.2 (I’ll call this a “font point” since it’s tied to the font size you actually set in Word.)

Font Points and Type Points on a Title Page

A Title Page as an Example

If you use the Student Supplement for The SBL Handbook of Style or something similar, Word can handle title pages quite well.3

So, you can (and should) hand off your title pages to Word so that it can take the formatting and layout minutiae off your plate.

You’ll get a better end product, and you’ll be able to spend time on the content of your research that you would otherwise have devoted to manipulating the layout of your document.

That said, I want to use a title page to illustrate how font and type points do (and don’t) work. And in particular, I’ll assume the title page framework given in the Student Supplement.

Points and Line Spacing

In this framework, if you allow a 2-inch top and bottom margin on 11-inch high paper, that allows you 7 vertical inches on the page in which to distribute content (= 11 inches total – 2 inches for the top margin – 2 inches for the bottom margin).

Line Spacing = “Exactly 12 Points”

If your text is “12-point,” Times New Roman, and spaced at exactly 12 points, you can fit 42 lines of text vertically down these 7 inches, or 504 type points because

  • 504 type points = 7 inches × 72 type points per inch and
  • 42 lines = 504 type points ÷ 12 type points per line.

Line Spacing = “Single Spaced”

But if your text is “12-point,” Times New Roman, and single spaced, you’ll be able to fit vertically down these same 7 inches only about 36.5 lines of text.

This means that, if you use “12-point” Times New Roman font, one “single spaced” line will actually occupy about 13.81 type points of vertical space on your page(= [72 type points per inch × 7 inches] ÷ 36.5 lines).4

Arial appears to take up the same amount. SBL BibLit, by contrast, occupies closer to 18.67 type points vertically on the page when you select a “12-point” font size in Word.

That means one single spaced line of SBL BibLit font occupies slightly more than ⅓ more vertical space on the page than one single-spaced line of Times New Roman or Arial.

Line Spacing down a Full Page

Down a full title page, there will be at least 8 lines of type:

  • Institution block: 1 line
  • Title block: 1 or more lines
  • Class block: 3 lines
  • Author block: 3 lines

So, if you use “12-point” Times New Roman font, you might think these 8 lines would occupy 96 type points vertically on the page (= 8 lines × 12 font-type points per line).

But they won’t. They’ll actually occupy 110.48 type points (= 8 lines × 13.81 type points per line).

Over the page as a whole, the total difference of 14.48 type points (= 110.48 type points – 96 type points) equates to about two tenths of an inch (= 14.48 type points difference ÷ 72 type points per inch). That assumes you’re using Times New Roman or Arial.

If you use SBL BibLit, the difference is greater. Eight lines of single-spaced type will be about 149.36 type points (= 8 lines × 18.67 type points per line).

That’s just shy of three quarters of an inch longer on the page than if the lines were spaced at exactly 12 type points (= [149.36 type points – 96 type points] ÷ 72 type points per inch).

Conclusion

Whenever you need a precise page layout, first see whether Word will handle the details automatically. It probably will.

But if not, understanding the difference between font and type points should help you achieve that layout much more easily.


Tired of fighting with Word? Want to be done with frustrated hours fussing over how to get the formatting you need?

My new guide shows you how to bypass all of this so you can let Word work for you while you focus on your research.

Garrett Thompson (PhD)

For students in any graduate program, mastering the full range of available research tools is crucial for efficient and consistent productivity. Dr. Stark has mastered these tools—the most important of which is Microsoft Word…. Students eager to take their work to the next level would do well to follow Dr. Stark’s in-depth guidance.


  1. Header image provided by Etienne Girardet

  2. For some introductions to why this is, see “Leading,” weblog, The Four-Eyed Raven, n.d.; Matt Samberg, “Line Spacing, Explained,” weblog, Medium, 15 September 2015. 

  3. Melanie Greer Nogalski et al., Student Supplement for The SBL Handbook of Style, Second Edition, ed. Joel M. LeMon and Brennan W. Breed, rev. ed. (Atlanta: SBL, 2015). 

  4. Leading.” Based on my own measurements, this seems to be slightly more accurate than the round 14 points reported by Samberg, “Line Spacing, Explained.” But Samberg’s essay still has a great deal of valuable information. 

How to Justify Your Title Page Text Blocks in No Time

Reading time: 4 minutes

When you’re working on a title page, it’s best to delegate its formatting to Word as much as possible.1

Doing so will save you time spent formatting. It can also give you a title page that’s more precisely formatted.

Before you distribute the text blocks vertically on your title page, you should be sure to segment your title page’s text blocks appropriately.2

You may also want to go ahead and format your title page text. That way, once you distribute the text on your title page, it’ll be ready to go.

Vertically Justify Your Title Page Text

Once you’ve got your title page text ready, highlight the contents of your title page—but not the section break that separates your title page from the next section of your document.

(Just for context, if you lay out your document like I recommend, that section break will go to your table of contents for long essays and your essay body for short essays.)

Then, from the “Layout” tab, choose “Margins” and “Custom Margins….”

On the “Margins” tab, set both the top and the bottom margins to 2 inches.

Then, click on the “Layout” tab. Under the “Page” section on this tab, change “Vertical alignment:” to “Justified,” and click “OK.”

When you complete this last step after you’ve properly formatted and segmented your title page text, you should then see your title page content

  • In all capital letters,
  • Centered on the page left-to-right, and
  • Distributed vertically on the page so that you have (a) 2-inch top and bottom margins and (b) even spaces between each text block on the title page that are as close as possible to 2 inches.

Double Space Your Title If It’s Multiple Lines

If your title happens to be more than one line long, the Student Supplement for The SBL Handbook of Style wants your title to be double spaced.3

So, before you move on from your title page, it’s a good time to double check whether you need to adjust the line spacing for your title.

If you do, you can change the line spacing directly from the “Home” tab. Simply highlight your title block (block 2), and change the line spacing to “2.0.”

Conclusion

With these simple steps, you can largely delegate your title page formatting to Word.

By letting Word handle the minutiae of your title page’s text and layout, you can avoid time and effort spent manipulating this formatting yourself.

And that’s time you’ve regained to invest into the content of your research and writing.


Tired of fighting with Word? Want to be done with frustrated hours fussing over how to get the formatting you need?

My new guide shows you how to bypass all of this so you can let Word work for you while you focus on your research.

Garrett Thompson (PhD)

For students in any graduate program, mastering the full range of available research tools is crucial for efficient and consistent productivity. Dr. Stark has mastered these tools—the most important of which is Microsoft Word…. Students eager to take their work to the next level would do well to follow Dr. Stark’s in-depth guidance.


  1. Header image provided by Etienne Girardet

  2. In these comments, I’m assuming you’re trying to format your title page as specified in Melanie Greer Nogalski et al., Student Supplement for The SBL Handbook of Style, Second Edition, ed. Joel M. LeMon and Brennan W. Breed, rev. ed. (Atlanta: SBL, 2015), §§2.8, 3.1. For an overview of the four title page blocks that the Student Supplement requires, see “The Fundamentals of How to Format a Title Page.” In the steps illustrated here, I’m assuming you’re using the most current version of Word available via an Office 365 subscription. As of this writing, that’s 16.0.12624.20278. Any reasonably recent version of Word should work similarly. But increasingly older versions may have increasingly larger differences in how they match the steps I describe here. 

  3. Nogalski et al., Student Supplement, §3.1. 

How to Prepare Your Title Page Text Blocks

Reading time: 4 minutes

If you delegate your title page formatting to Word, you can save yourself time spent formatting.1 You can also end up with a title page that’s more precisely formatted.

One key step to delegate this formatting work is to properly format your title page’s text. Another important, related step is to properly segment this text.

That is, each title page block needs to be its own single paragraph. That means the multi-line class block (block 3) and author block (block 4) each needs to be one paragraph with multiple lines.2

Use Paragraph Breaks and Line Breaks

When typing your title page, you should use a new paragraph (i.e., press Enter) only at the end of your

  • Institution block (block 1),
  • Title block (block 2),
  • Class block (block 3), and
  • Author block (block 4).

The class block (block 3) and author block (block 4) require three lines each. But within these blocks, you should use line breaks and not new paragraphs.

To insert a line break after the first two lines in each block, press Shift+Enter rather than simply Enter.

Visually on the page, a line break might not look much different to you than a paragraph break.

But from Word’s perspective, there’s an important difference that you can use to vastly simplify the vertical distribution of these blocks on your title page.

Using line breaks will keep the class block and author block together as single paragraphs from Word’s perspective.

And because they’re single paragraphs, Word can then distribute them evenly along with the other one-line paragraph blocks on the page (blocks 1 and 2).

Replace Paragraph Breaks with Line Breaks If Needed

If you haven’t already used line breaks within your class block (block 3) and author block (block 4), that’s okay.

You can simply delete the extra paragraph breaks you inserted and replace them with line breaks.

To check or replace the breaks on your title page, it might be easiest if you show hidden characters either from the keyboard (Ctrl+*) or from the “Home” tab.

After you show the hidden characters, you should see the line break symbol (↩) after

  • Your instructor’s name,
  • “IN PARTIAL FULFILLMENT OF”,
  • “BY”, and
  • Your name.

If you see a new paragraph symbol (¶) instead of a line break symbol in any of these places, simply delete that paragraph, and enter a line break instead (Shift+Enter). You should then see the line break symbol instead of the new paragraph symbol.

Then, in future title pages, you can use line breaks in these places from the start. That will keep you from having to correct the breaks later like you might have needed to do this time around.

Once you’ve traded out any new paragraphs for line breaks, you should still see the new paragraph symbol after

  • The institution block (block 1),
  • The title block (block 2),
  • Your course number and title (the last line of block 3)

After your submission date (the last line of block 4), you should not see either the line break or the new paragraph symbol.

Instead, you should simply see the section break that ends your title page if you’ve set up your document’s sections like I recommend.

Conclusion

Once you have your title page text formatted and your title page blocks prepared, all that’s left is evenly distributing these blocks on your title page.


Tired of fighting with Word? Want to be done with frustrated hours fussing over how to get the formatting you need?

My new guide shows you how to bypass all of this so you can let Word work for you while you focus on your research.

Garrett Thompson (PhD)

For students in any graduate program, mastering the full range of available research tools is crucial for efficient and consistent productivity. Dr. Stark has mastered these tools—the most important of which is Microsoft Word…. Students eager to take their work to the next level would do well to follow Dr. Stark’s in-depth guidance.


  1. Header image provided by Etienne Girardet

  2. In these comments, I’m assuming you’re trying to format your title page as specified in Melanie Greer Nogalski et al., Student Supplement for The SBL Handbook of Style, Second Edition, ed. Joel M. LeMon and Brennan W. Breed, rev. ed. (Atlanta: SBL, 2015), §§2.8, 3.1. For an overview of the four title page blocks that the Student Supplement requires, see “The Fundamentals of How to Format a Title Page.” In the steps illustrated here, I’m assuming you’re using the most current version of Word available via an Office 365 subscription. As of this writing, that’s 16.0.12624.20278. Any reasonably recent version of Word should work similarly. But increasingly older versions may have increasingly larger differences in how they match the steps I describe here. 

How to Actually Format Your Title Page Text

Reading time: 6 minutes

If you delegate your title page formatting to Word, you can save yourself time spent formatting.1 You can also end up with a title page that’s more precisely formatted.

To start delegating your title pages to Word, there are four basic steps. The first of these is to capitalize and center your title page text.

To illustrate how to format your title page text, I’m going to assume you’ve set up your essay’s title page in Word like I recommend.

If you’ve already done that, it will be that much easier to follow along. But even if not, you can still apply the process described below to your own document as you’ve structured it.

1. Ways to Format Your Title Page Text

According to the Student Supplement for The SBL Handbook of Style, all title page text needs to be presented in capital letters and centered on the page.2

You can get your text capitalized in a few ways. First, you can turn on your caps lock and type the text.

Second, you can type the text and then format it as “UPPERCASE” from the “Font” section of the “Home” tab as shown below.

Or you can do the same thing through the “All Caps” option in the “Font” dialog box.

Third, you can adjust the “Title” style or create your own style to apply the uppercase font formatting.

With either of the first two methods, you’ll still need to separately center the text. But if you modify the “Title” style, you can specify center alignment for this style, as well as uppercase font.

Using the “Title” style also means that you can save your modifications of this style to reuse later in other documents. When you do so, you then get the bonus of bypassing the formatting work you’d otherwise need to redo.

2. How to Modify Your “Title” Style

To modify your “Title” style, follow the steps below. In these steps, I’m assuming that your “Title” style is exactly like it’s initially defined in the default Word template.

So , just keep in mind that you might need to tweak the exact steps shown below depending on exactly how your “Title” style is currently formatted.

2.1. Start Modifying the “Title” Style

First, come to the Home tab, and open the styles panel.

Second, find the “Title” style. Click the drop down arrow to the right of this style name, and choose “Modify….”

2.2. Modify the “Title” Style’s Font Face and Alignment

Third, on the right side of the “Modify Style” dialog box under “Formatting,” change “Latin” to “(all scripts)” if you might possibly use this “Title” style with Hebrew or other right-to-left text.

Then set the font face and size to be the same as you’re using in the main text of the rest of your document (e.g., Times New Roman, 12-point).

Choose to center-align the text by clicking the second button from the left under the font face name drop-down box.

In case you’re wondering, you’ll want to leave the line spacing at single spacing. This way, your class block (block 3) and author block (block 4) can be single spaced.3

If your title runs longer than one line, you can later format that block directly so that it’s double spaced.

2.3. Set the “Title” Style to Use All Capitals

Next, click the “Format” button in the bottom left-hand corner, and choose “Font…” from the menu that opens.

In the “Font” dialog box on the “Font” tab, find the “Effects” section toward the bottom. Then, check the option for “All caps” in the right-hand column.

2.4. Correct the “Title” Style’s Character Spacing

Next, switch to the “Advanced” tab. Here you’ll need to remove a default Word title style option that isn’t consistent with the Student Supplement.

To do so, under “Character Spacing,” change the spacing to “Normal,” and click “OK.”

This will bring you back to the “Modify Style” dialog box.

2.5. Save Your Changes to the “Title” Style for Later Reuse

Decide whether you want to use this same style formatting in other documents based on the same Word template.

If so, choose the “New documents based on this template” option at the bottom of the “Modify Style” dialog box. Otherwise, leave the default “Only in this document” selected.

Press “OK” at the bottom of the “Modify Style” dialog box.

Conclusion

If you haven’t done so yet, you can apply the “Title” style to text on a sample title page.

There are still a couple updates you need to make so that you can evenly distribute this text vertically on your title page.

But you can already start to see how your title page formatting is beginning to take shape in a way you can largely delegate to Word in the future.


Tired of fighting with Word? Want to be done with frustrated hours fussing over how to get the formatting you need?

My new guide shows you how to bypass all of this so you can let Word work for you while you focus on your research.

Garrett Thompson (PhD)

For students in any graduate program, mastering the full range of available research tools is crucial for efficient and consistent productivity. Dr. Stark has mastered these tools—the most important of which is Microsoft Word…. Students eager to take their work to the next level would do well to follow Dr. Stark’s in-depth guidance.


  1. Header image provided by Etienne Girardet

  2. Melanie Greer Nogalski et al., Student Supplement for The SBL Handbook of Style, Second Edition, ed. Joel M. LeMon and Brennan W. Breed, rev. ed. (Atlanta: SBL, 2015), §3.1. In the steps illustrated here, I’m assuming you’re using the most current version of Word available via an Office 365 subscription. As of this writing, that’s 16.0.12624.20278. Any reasonably recent version of Word should work similarly. But increasingly older versions may have increasingly larger differences in how they match the steps I describe here. 

  3. To review the title page text blocks that the Student Supplement specifies, see “The Fundamentals of How to Format a Title Page.” 

Why You Need to Delegate Your Title Pages

Reading time: 3 minutes

Perhaps the simplest way of distributing content vertically on your title page is simply to press Enter to create blank paragraphs where you need them.1

Unfortunately, using this method has three at least three problems.

1. Single Lines Are Rough Spaces

First, you can only space by one full line at a time. So, this method allows only for a comparatively rough spacing.

The Student Supplement to The SBL Handbook of style requires four text blocks on your title page.2

Each block is single spaced, except if your title runs onto more than one line. In that case, you’ll double space your title block.

I won’t go into the math here. But depending on how many lines are in your title, you’ll actually need about the following fractions of lines to distribute the four title page blocks:

Title LinesLines Space between Blocks
1 9.50
2 8.50
3 7.83
4 7.17
5 6.50

So if you do space your title page by using blank paragraphs, you’ll end up having spacing that’s slightly off unless you also create a good deal more work for yourself to correct the spacing.

By delegating your title page formatting to Word as much as possible, however, you’ll get a more precise title page with less time and effort spent coaxing the layout into line.

2. You’ll Have More Repetitive Formatting Work

Second, you’ll need to redo the spacing in each new document by pressing Enter however many times and judging whether you’ve gotten it about right.

You can cut some of this work by copying, pasting, and editing a title page from an existing document.

But even then, you may well still have some additional reformatting work to do that you could have avoided if you had let Word handle your title page formatting.

3. Changing Your Title Might Require Reformatting Your Title Page

Third, if you change your title you might end up lengthening it onto an additional line. Or you might end up shortening it onto fewer lines.

But if you’ve spaced your title page by manually entering blank paragraphs, you’ll then need to manually adjust the spacing to account for the change in the number of lines your title occupies.

When you do so, you’ll be investing additional time in the minutiae of your title page. But you can easily avoid this if you delegate your title page’s formatting to Word.

Conclusion

In any of these scenarios, you’re spending time and effort doing something you can instead delegate to Word.

But if you do delegate your title page formatting to Word, you can both save yourself time spent formatting and end up with a title page that’s more precisely formatted.

In order to delegate your title page formatting to Word, you need to take four basic steps. These are to

  1. Capitalize and center your title page text,
  2. Prepare your title page blocks,
  3. Vertically justify your title page blocks, and
  4. Check your title’s line spacing.

Tired of fighting with Word? Want to be done with frustrated hours fussing over how to get the formatting you need?

My new guide shows you how to bypass all of this so you can let Word work for you while you focus on your research.

Garrett Thompson (PhD)

For students in any graduate program, mastering the full range of available research tools is crucial for efficient and consistent productivity. Dr. Stark has mastered these tools—the most important of which is Microsoft Word…. Students eager to take their work to the next level would do well to follow Dr. Stark’s in-depth guidance.


  1. Header image provided by Etienne Girardet

  2. Melanie Greer Nogalski et al., Student Supplement for The SBL Handbook of Style, Second Edition, ed. Joel M. LeMon and Brennan W. Breed, rev. ed. (Atlanta: SBL, 2015), §§2.8, 3.1. 

The Fundamentals of How to Format a Title Page

Reading time: 3 minutes

The Student Supplement for The SBL Handbook of Style has some specific requirements for your essay’s title page.1

Because it’s just the one page in your essay, you can handle these requirements manually.

But there are also some very simple steps you can take to save yourself time spent formatting title pages both now and in the future.

What the Student Supplement Requires

Before detailing those steps, however, it might be useful to review what the Student Supplement requires.2

On an essay’s title page, all text appears center justified and in capital letters. This text falls into four blocks:

  1. The institution block. This is just the name of your institution.
  2. The title block. This is the title of your paper. If your title runs more than one line long, you need to have those lines double spaced.
  3. The class block. This block gives information about the class for which you’re submitting the paper on three lines. Line 1 has “SUBMITTED TO” and the name of your professor(s). Line 2 has the text “IN PARTIAL FULFILLMENT OF”. And line 3 has your course number and title.
  4. The author block. This block gives information about you as the paper’s author on three lines. Line 1 has “BY”. Line 2 has your name. And line 3 has the paper’s submission date.3

In terms of spacing,

  • The first block should be two inches from the top of the page,
  • Each of the blocks should be “approximately” two inches from any neighboring block, and
  • The last block should be two inches from the bottom of the page.

The reason for the “approximate” spacing of the blocks from each other is that, on an 11-inch high page, there actually isn’t quite enough space to accommodate all the required text and spaces at a full 2 inches. But you can get pretty close.

Conclusion

Probably the simplest way of distributing content vertically on your title page is simply to press Enter to create blank space where you need it.

Unfortunately, this method has several problems. But chief among them is that your title page layout is entirely something that Word can handle for you.

And by delegating your title page to Word, you free yourself up to put time and attention into more important work.


  1. Header image provided by Etienne Girardet

  2. Melanie Greer Nogalski et al., Student Supplement for The SBL Handbook of Style, Second Edition, ed. Joel M. LeMon and Brennan W. Breed, rev. ed. (Atlanta: SBL, 2015), §§2.8, 3.1. 

  3. According to the SBL Handbook of Style, dates are to be given in the day-month-year format (e.g., 1 January 2020). Society of Biblical Literature, The SBL Handbook of Style, 2nd ed. (Atlanta: SBL, 2014), §4.3.7.1. But the Student Supplement’s title page sample gives “Month, Day, Year” as the format. Nogalski et al., Student Supplement, §3.1. Probably this comment is an erroneous hold over from the first edition of the SBL Handbook of Style and the student supplement for it (where the month-day-year format was preferred). But I have yet to see firm confirmation on this fact from SBL Press.